
How to Turn Your Messy Idea Into a Sellable Digital Product
Contents
Feeling stuck creating and selling your digital product, sis?
You’re not stuck because you lack motivation to launch your own digital products. You’re stuck because the world teaches you how to sell products before it teaches you how to actually make them. If you’re tired of creating more and more ‘Draft 1’ folders and ready to turn your messy ideas into a finished transformation for your customs, let’s talk about the part that comes between the idea and the sale.
If you’re like me, you probably have notes everywhere. Maybe some voice memos on your phone or even half-written docs with titles like “Draft 1” and “Ebook Idea -TBD.” These are ideas you know could become something valuable (and profitable), if you could just get them out of your head and into a product people could use.
But…it just stays there. Messy notes you’ve stored, unfinished, for months and possibly years.
I know you haven’t neglected these potential projects because you’re lazy or unmotivated. The problem is that nobody goes into detail to teach the part where you create something people can buy.
If you Google how to create a digital product, everyone jumps straight to talking about funnels and launch strategies and email sequences, and you’re sitting there like “but I don’t even have anything finished yet.”
So let’s talk about that part. The messy middle. The actual making of the product – your big idea. No marketing tactics or sales pages or email lists. Just the steps for turning what’s in your head into something tangible and real that you can package up and sell online (if you want).
First: Stop Treating Your Ideas Like Finished Products
Here’s what I see happen all the time, both in my own work and with the women I know who want to create their own products: You have an idea, and immediately your brain tries to turn it into a perfect, polished product.
You might ask yourself, “Should this be a course or an ebook? How long should it be? What would I even charge for this? What if someone’s already done something similar?” And suddenly you’re three steps ahead of where you need to be, trying to make decisions about a product that doesn’t exist yet. I am guilty of this!
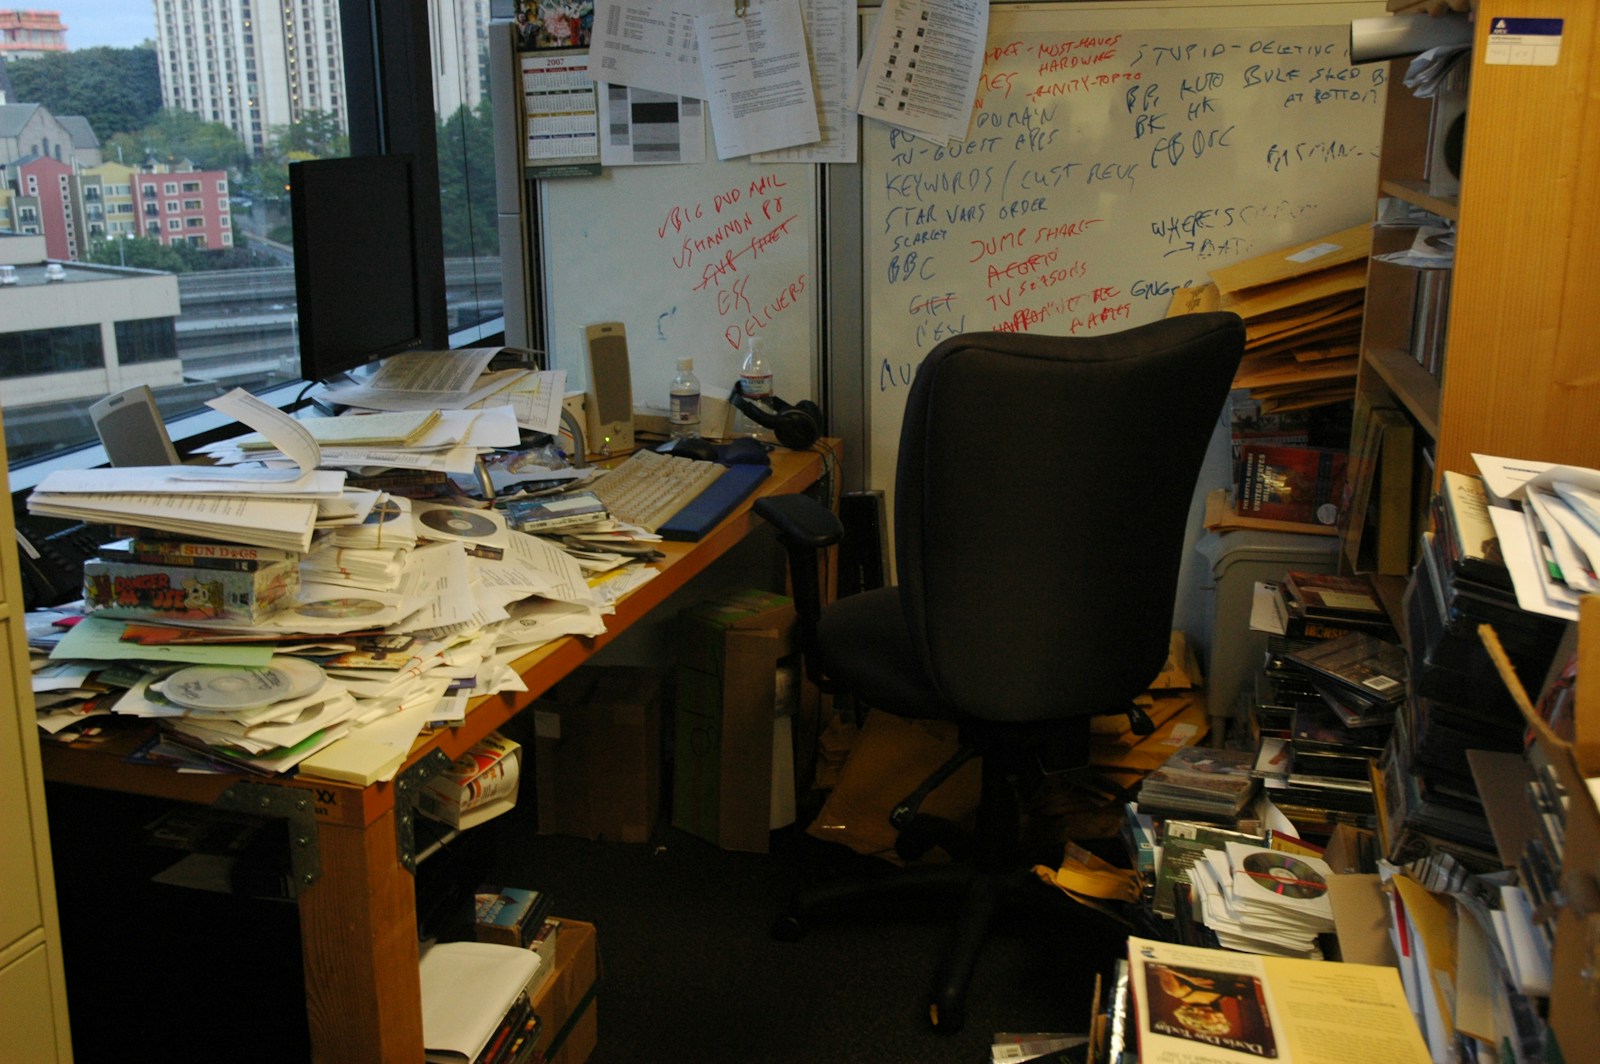
A messy idea is raw, dirty material. It’s not a product yet, and it’s not supposed to be. At this stage, your job isn’t to polish it or perfect your idea. Your job is to figure out that special spark within the idea that’s worth taking your precious time to turn it into a product.
So instead of asking “How do I sell this?” start with a simpler question: What is this idea actually helping someone do?
If you can’t answer that yet, it doesn’t mean your idea is not good. It just means it’s unprocessed – a mess. You haven’t pulled the core idea together yet. So let’s work on that messy idea now.
Step 1: Finding the Core Problem Your Digital Product IDEA Solves
Every digital product solves a problem. Even the creative ones. Even the ones that feel more like resources or tools than traditional “how-to” content.
Here’s how to find that problem without overthinking: Take your messy idea and finish this sentence: “This idea helps someone who is stuck with _____ to finally _____.”
For example, maybe it’s something specific like “This idea helps new teachers who feel overwhelmed finally organize their classroom into a place where their students feel engaged.” Or maybe for now, it’s a little generic like “This idea helps beginners stop overcomplicating the whole process and actually finish something.” Either way, you can see how that’s different from just saying “This is about productivity” or “This is about getting organized.”
The is called the Ideation stage. It’s where you start by getting everything out of your head so you can see what you have to work with. A lot of the time, you’re sitting on way more valuable information than you realize. You just can’t see it clearly yet because it’s all jumbled up in your brain. So it’s difficult to see how all these ideas become an actual digital product.
Step 2: Setting Boundaries to Finish One Digital Product at a Time
When you try to entertain every single idea you have, that’s where burnout sneaks in…and possibly why you have so many “Draft 1s” on your Google drive. You think “Well, I should probably also cover this, and I can’t leave out that part, and what if they need to know about this other thing too?”
So it’s important to set some boundaries early, before you get exhausted with all that thinking. Ask yourself:
- Does someone really need all of this in order to get the result?
- Would adding this make it content heavy instead of helpful?
- What am I tempted to include just because I think it makes me look more legit or knowledgeable?
If your idea feels like you need to create a product with 20 modules and weekly calls and a massive resource library, then it’s probably way too big for your very first digital product. That’s possibly three products disguised as one, and you’re going to burn out before you finish.
It’s important to keep your product focused, so cut out information, even if it hurts! You can always add more later. You can always create a second version or a follow-up product. But right now, your job is to finish one so it’s done.
Step 3: Choosing a Simple Digital Product Format That Fits Your Style
Here’s where your ideas finally start turning into an actual product. And this is where a lot of people freeze up because they think the container needs to be impressive or complicated or “professional.”
Instead of going with what you think is the most impressive format, ask yourself:
- What format lets me teach this the fastest and the clearest?
- What matches how I naturally share information?
Maybe it’s a guided workbook. Maybe it’s a step-by-step checklist. Maybe it’s a swipe file or a template set or a short process-based guide. Maybe it’s even just a really well-structured Google Doc or Notion page.
Remember – less is more!
You want to match your natural teaching style with the right product structure or format so you’re not fighting against how you actually work. Because there’s no point in forcing yourself to create video courses if you think better in writing, you know? Or why would you force yourself to run weekly calls, if a set of well-designed templates would fit your style better?
Step 4: Creating a Digital Product Prototype (Before You Make it Perfect)
Many (if not most) people skip this part, and then they regret it later when they’ve spent weeks making something beautiful that doesn’t actually work.
A prototype is a rough draft. It’s not perfectly branded. It’s definitely not polished. A prototype is clear, complete enough to test, and usable. That’s it.
Before you worry about pricing or which platform to use or how to make it look pretty, your digital product should be able to answer these questions:
- Can someone follow this without you there to explain it?
- Does it actually move them from stuck to clear?
- Can they finish it without getting lost or confused halfway through?
If the answer is yes, you’re ready to move forward. If not, you don’t need more ideas or more content. You need to refine what you already have.
In the Prototyping stage, we test things with real people and get feedback before you invest time making everything perfect. This is the messy middle where the actual magic happens. Where you discover what’s working and what needs to shift. It’s honestly my favorite part of the product development process because this is where you start to see your idea becoming real!
Step 5: Focus on the Transformation Your Digital Product Creates
Figure out how to describe your product by the transformation it offers. Instead of trying to describe every lesson or page in your digital product (and I know you’re proud of them), start describing the real shift that happens for the person using it. People aren’t just looking for information, they are looking to feel capable, clear, and ready to move forward after using your product.
Your people should see how your product solves the core problem you identified in step 1.
If you can complete a sentence something along the lines of, “By the end of _____, you will be able to_____,” you have found the heart of your product. For example “By the end of this course, you will be able to perfectly organize your home office.” Or “By using this toolkit, you will be able to improve your communicate better with your employees.”
Having this focused “elevator pitch” also helps you to be a better product creator because you will have a clear goal in mind for your next product and you’ll be able to see how everything fits into your body of work.
So there are five steps to get your unstuck with your messy ideas.
- Find the core problem
- Set your boundaries
- Choose a format that fits your style
- Create a prototype
- Focus on the transformation
Remember: If you feel stuck, it isn’t because your idea is bad. A lot of us struggle because we’ve been told to “sell before you build,” which can feel incredibly uncomfortable if there isn’t a clear path or process to follow. So, try following these steps, one at a time, and don’t give up on your messy idea!
YOUR Messy Idea May Already Be PART OF SOMETHING BIGGER
Once you turn one of your unfinished ideas into something tangible and real, you may start noticing how your other notes, drafts, and half-finished projects all connect together.
The FREE Body of Work Starter Kit helps you gather those pieces, spot the throughline running through them, and start shaping them into a body of work you can keep building.
Grab the free Body of Work Starter Kit now >>
Have any questions about this post? Please contact me.